The Siege of Paris is the fifth scenario in the Joan of Arc campaign in Age of Empires II: The Age of Kings. It is based on the 1429 Siege of Paris and the Anglo-Burgundian Siege of Compiègne.
Scenario instructions
Starting conditions
- Starting Age:
 Imperial Age
 - Starting resources: None
- Population limit: 75
- Starting units:
- Gaia units:
- 16
 Militia
 - 10 Villagers
- 2 Throwing Axemen
- 2 Knights
- 2 Heavy Scorpions
- 16
Objectives
- Joan must survive.
- Refugee villagers in Paris are attempting to escape English tyranny. Locate at least 6 of the refugees.
- Rendezvous with the king's reinforcements in Paris, just south of the river bridge.
- Escort Joan and at least 6 of the refugees to the Château of Compiègne (the square between the flags).
Hints
- Don't try and defeat every British unit. Focus on your objectives.
- Guard your siege weapons. Towers will be a big problem if you don't.
- If faced with overwhelming opposition, run away! Run away!
Players
Player
- Player (Franks): The player starts in the very south edge of the map with Joan and her army.
Allies
- King's Men (Franks): The King's Men send a Transport Ship to aid the player, but have little to spare, only giving a Militia and a Scout Cavalry.
- Compiègne (Franks): Compiègne is a town located at the northeast edge of the map. They have a considerable defense with a Castle and several Keeps. But they will be raided by Burgundy once the player is nearby.
Enemies
- British (Britons): The British control the entire city of Paris. The player must search the city for French refugees to be rescued and meet with the King's Men here. They defend the city with Elite Longbowmen, Onagers, Champions, and Cavaliers.
- Burgundy (Franks): Burgundy has an army waiting outside the city of Compiègne. They pose little threat to the player as they are focused on raiding Compiègne. But try not to get too close to them as they can kill the refugees easily as they have Paladins, Champions, and Onagers.
Strategy
| This page may need to be cleaned up to reach a higher standard of quality. This may include editing to correct spelling and grammar, and rewriting sections to ensure they are clear and concise. |
Paris is a massive city controlled by the British, taking up most of the map. The goal is to retake it for the French and claim the refugees (Villagers) which are located near the flag inside the city.
Joan starts out with no resources but controls a massive army of archers, infantry, heavy cavalry and several siege weapons. Heroes including Jean de Lorrain and Lord de Graville are also at your disposal. This scenario is similar to An Unlikely Messiah in that you do not build a base or train units. However, you're up against fully-upgraded Imperial Age British and Frankish armies rather than a ragtag band of highwaymen. Although you control a large army, this will not be an easy scenario since all your enemies are technologically ahead of you and your army cannot be replenished or healed. Effective micromanagement is essential.
Entering Paris
You should do two things immediately to make your life easier. First, change your diplomatic stance on the British from "enemy" to "neutral". Your soldiers will still be able to defend themselves, but this will stop them from running around and attacking every building in sight. Second, set all of your Bombard Cannons (don't forget Jean de Lorrain) to the "no attack" stance. This way, they will not attack anything unless you tell them to - which is exactly what you want (especially because of friendly fire). Set control groups, and start moving along the southwest edge of the map. Although following the dirt road and attacking from the east is more direct and straightforward, the enemy has more towers and troops there. Your Trebuchets have a long line of sight and you'll be able to see the Fortified Walls surrounding the British base. Watch out for the isolated, heavily fortified outpost west of the flag marked on the map. It consists of Bombard Towers, Keeps, and a Castle. These buildings are easy to knock down with your Trebuchets and there are no units nearby, so you should get rid of them now to give yourself some breathing room.
Although Joan must be protected at all costs, she is a formidable scout as well as an excellent Monk-killer on her own. She can also be paired with your Light Cavalry as well as Lord de Graville to explore certain areas with good effect (only in versions that include The Conquerors expansion, as all hero units regenerate their health over time and are immune to conversion). Not only does this make scouting more effective but it also lures some of the British Elite Longbowmen out of the fortress, rendering them more vulnerable to your heavy cavalry without the walls and towers protecting them. You should try this out right away: place your heavy cavalry in front of your crossbowmen rather far from the city walls, keeping your other units (especially siege weapons) in a safe area. Send Joan to the city gate east of where the Castle was, then run away after she comes under attack. The British units are remarkably aggressive in this scenario - once one sees your unit, it will continue chasing until it's killed. The first units to appear will include Champions and Elite Longbowmen. To deal with the former, target them one at a time with all of your Crossbowmen (finishing them off with your heavy cavalry if necessary). When the Longbowmen come out, pursue them with your heavy cavalry (you should have enough room to catch them if your army is stationed far enough from the city wall), possibly dividing your forces if necessary.
There is another Castle and two more Keeps inside the city a bit further south, east of a Trade Workshop. You'll want to get rid of these buildings before you enter Paris as well. There's also a Town Center which probably won't shoot at you, but it's a good idea to destroy it just in case. Send Joan to this wall to lure out the Longbowmen (they should come out the north entrance again, after which they can be dispatched with your heavy cavalry). Try to kill as many of them as possible before you send your siege weapons to attack the buildings (as Bombard Cannons have low piece armor), but don't worry if you can't get them all (just pull your Bombard Cannons back and wait for them to come out of the city so you can attack them with your cavalry). A packed Trebuchet will also attack you (shoot it when it begins unpacking), along with an Onager (which moves slowly so is vulnerable to Bombard Cannons). Once all the defenses are torn apart and the British troops exhausted, the rest should be straightforward. Break a hole in the wall and enter the city.
Running the Gauntlet
Once you enter the city, you'll find all ten refugees. Bring them to a safe area and look for a Keep at a crossroads just east of where their second Castle used to be. You'll want to demolish this tower - some Champions will attack when you do. Next, you'll find two Docks in the north next to where you found the refugees. There are three Galleons here - they're very dangerous and very difficult to destroy seeing as you lack towers or warships of your own. It is essential to get rid of them though, so distract them with Joan while you fire away at them with your artillery. They're fast and difficult to hit, but one lucky shot should be enough to sink a ship. Hopefully you won't lose too many of your siege weapons, because you're far from finished with them.
Looking northeast toward the bridge, you'll find two more Keeps. Take out the northern one with your Trebuchets. The southern one is a bit more difficult because attacking it will trigger a Cannon Galleon and possibly a Monk or two. Monks are fairly dangerous, but they pose no threat to your siege units given that Britons cannot research the Redemption technology. Use Jean de Lorrain to demolish this ship - his range is longer (preventing the Cannon Galleon from returning fire). Once the ship and both towers are destroyed, withdraw your siege weapons.
After receiving word of the minimal "reinforcements" (a Scout Cavalry and one Militia) from the King's Men, your next objective is to leave Paris and flee Joan and your refugees to Compiegne. Send Joan to the small island about halfway across and kill two Monks (be wary as you'll be shot at by a Keep). Retreat quickly however, two Onagers will trigger and come after you. These can be taken out with Bombard Cannons or heavy cavalry. Then destroy the Keep on the island. Using Joan again (once her health regenerates), run across the river and turn south. You will activate some Champions; retreat back across the river and defeat them with your Crossbowmen and heavy cavalry. Finally go straight across the river with Joan. You'll find two Monks next to a Cathedral. Killing them will activate some Halberdiers and Elite Longbowmen - run back across and kill them with your Crossbowmen and heavy cavalry in that order.
This should be the last of the British forces. There is one more Keep on the east side of the river that will threaten you. However, attacking it will trigger the elite units in the heavily fortified northeast sector of the city (including Elite Longbowmen, more Halberdiers, Onagers, and Trebuchets). It's better just to bring your entire army across and tank the damage from the tower. As long as six of the Villagers, some of the siege weapons, and Joan herself make it you're in good shape. Immediately turn south, following the river bank, then turn east when you reach a Dock. Follow the path to find the additional units (sixteen Militia, two Throwing Axemen, two Knights, and two Heavy Scorpions). There may be an Elite Longbowman or two left over, but other than that you should be safe. Use your siege weapons to break through the wall right next to the Gold Mine.
- Alternate
After crossing the river merely head north-east until you hit the Paris city walls. Roughly where the additional units join you from the square. From there get your siege units and blow a hole in the walls, you can escape through this gap and avoid a massive portion of British forces. All that should oppose you then is the Burgundian ambush...
Leaving Paris
Head north and east to the path. Follow it southeast to a fork in the road, then turn east toward Compiegne. Unfortunately, Burgundy attacks with a massive army just before you get there consisting of Light Cavalry, Champions, Paladins, Siege Rams and Siege Onagers. At least six of the villagers along with Joan of Arc have to make it to the area marked with flags. Joan should be able to enter Compiegne relatively safe, and Burgundy will not deliberately attack the refugees because their diplomatic stance is set to neutral.
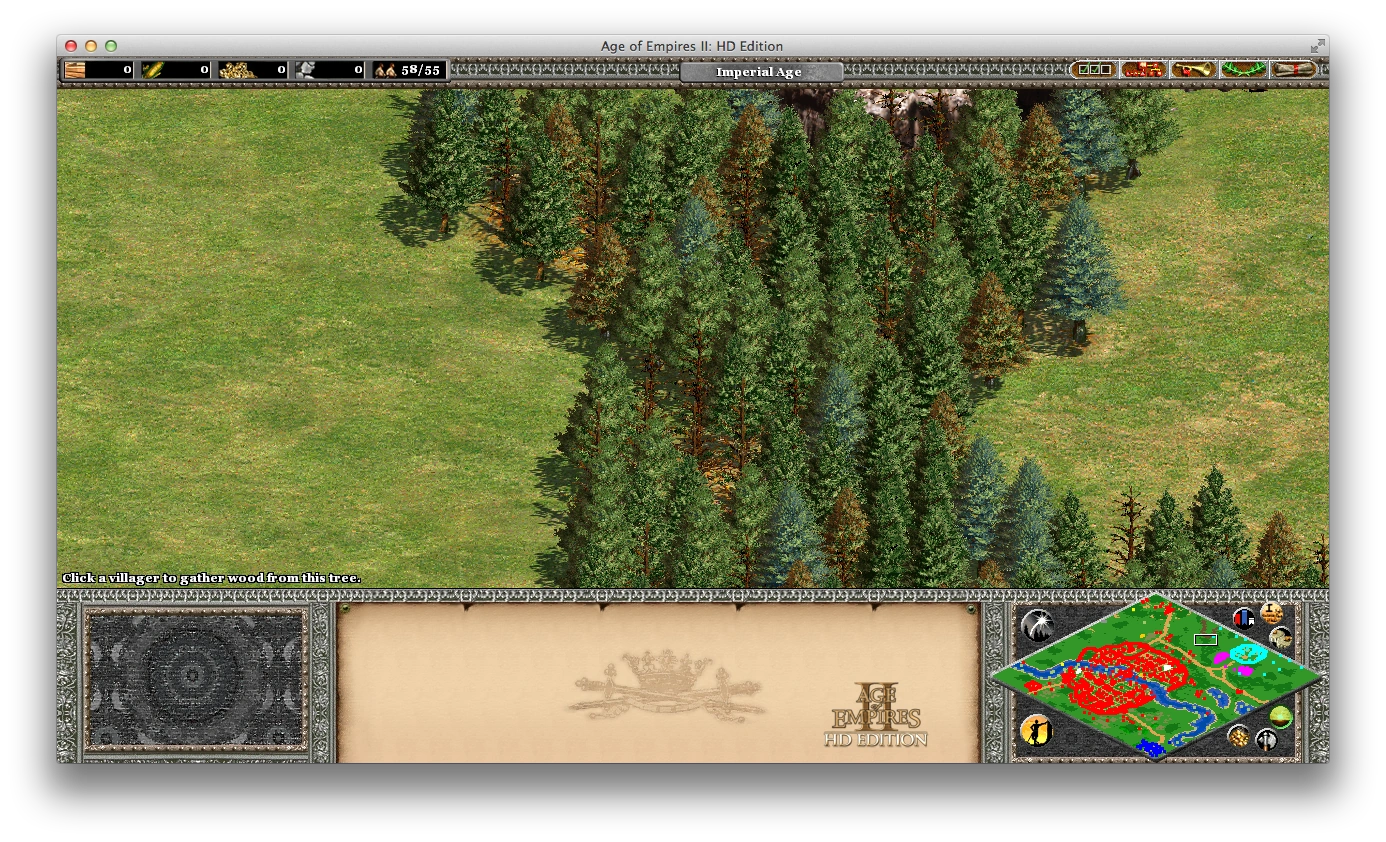
There is a way to completely avoid the final battle with Burgundy if you still have your Trebuchets. Unpack them at the location depicted in the screenshot. Use the "attack ground" feature to clear a path through the trees. Go due east and change your diplomatic stance on Compiegne from "ally" to "neutral". Use your siege weapons to make a hole in the wall, then change your stance back to ally and move Joan and the refugees to the area marked with the flags.
Unpack the Trebuchets here to skip the final battle.
Trivia
- Burgundy's starting diplomatic stance is ally for some unknown reason. They change it and attack as soon as they see one of the player's units. Setting oneself to ally with Burgundy before this occurs can cause them to just become neutral, avoiding the ambush entirely. That way, they just kill a Compiegne Crossbowman and then march off into Paris.
- The King's Men have a lone Militia hidden in the woods in the far north. This is because giving all of their units to the player would otherwise cause the King's Men to be defeated.
- If you use the cheats that give you Wood , Gold and Stone and build a wonder , the Wonder victory condition is possible.